How does E-Styling work?
Follow these simple steps to transform your rooms with AI
Step 1: Upload an image
Start by uploading an image of the room you want to style. You can upload multiple images at once.
Tips for best results:
- • Take the photo in daylight
- • Show the entire room if possible
- • Photos of full rooms usually turn out better. For tight spaces or low ceilings, the 'Replace furniture' function works better
- • Keep the camera straight (not tilted)
- • Max file size: 5 MB
Example of a clear image that the AI understands very well:
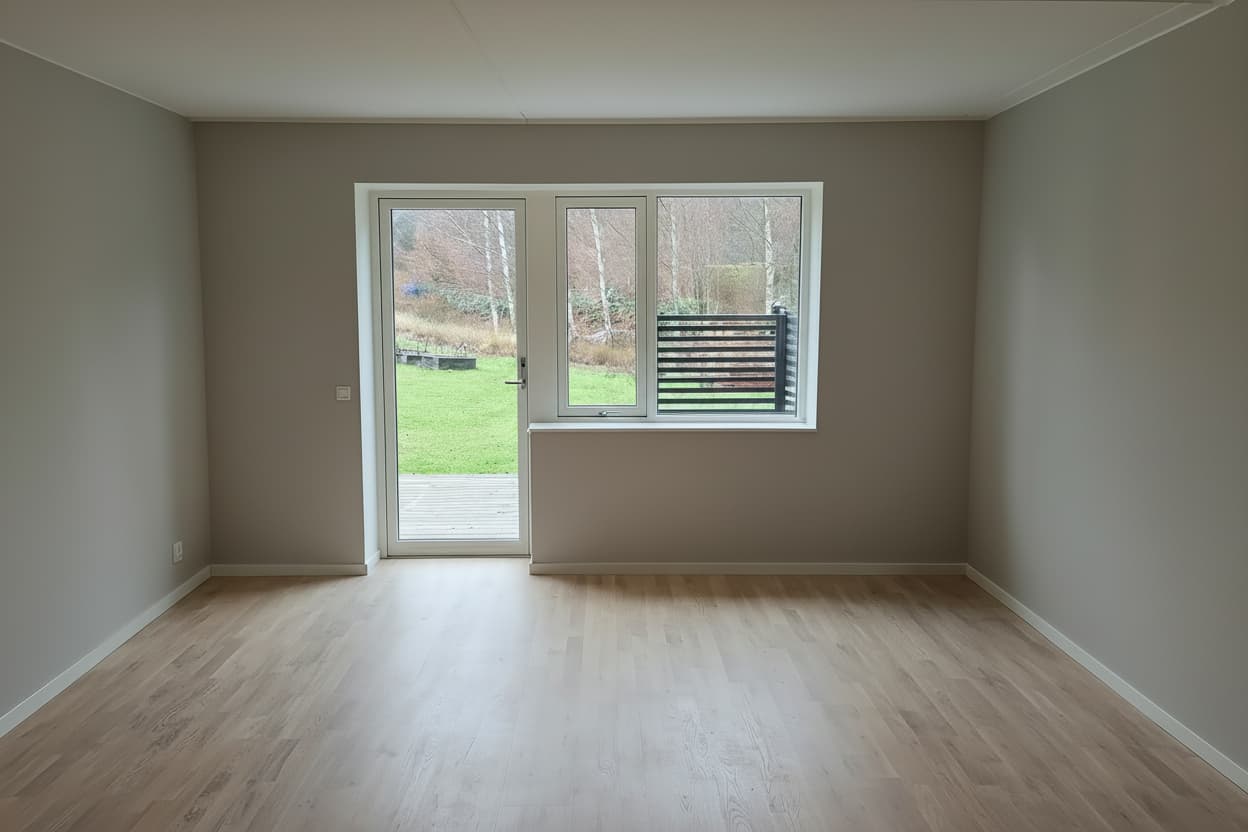
Not all images need to look like this – the AI also understands more challenging images – but this is an example of an image that gives optimal results.
Step 2: Select room type when uploading
When you upload an image, you must choose what type of room it is. This is required and the room will automatically be emptied after upload.
Available room types:
- • Living room, bedroom, kitchen, bathroom
- • And many more!
Step 3: Wait while the room is automatically emptied
After upload, an automatic process starts that empties the room of furniture and objects. You can follow the progress in the job queue shown on the right side of the page.
Why does this happen automatically?
- • The AI first needs to understand the room's structure
- • An empty room gives better styling results
- • Makes it possible to visualize new furniture correctly
Step 4: Style the room
When the room is empty, you can click "Style room" to let the AI create a professionally styled version. You can add extra requests if you want to influence the result. The job is added to the job queue which updates automatically.
Examples of extra requests:
- • "Place the sofa to the right"
- • "Add more plants"
- • "Use light colors"
Step 5: Review and save
When processing is complete, you can see the result in the image detail view. Below the image is the job history showing all processing for that specific image. Click on the image to download or share it.
Tips:
- • The job queue on the right shows all ongoing jobs for all your images
- • The job history below the image shows all jobs for that specific image
- • The system updates automatically - you don't need to reload the page
- • Don't like the result? Try styling again with different requests
About credits
Each processing (emptying or styling room) costs credits. You can see your balance in the menu at the top.
Need more credits? Go to your profile to buy more.
Have questions or need help? Contact our support at [email protected]